Drive HUB75 type LED panels with a $4 ESP32
Oct 07, 2019 — 4 minute read — # Hardware # PCB # Soldering # ESP # LEDsDrive HUB75 LED panels using an ESP32-DEVKIT-V1 and SmartMatrix library!
Features
- Compatible with SmartMatrix and FastLED libraries!
- Play animated .gifs (from SPIFFS) on your LED panel using Marc Merlin’s AnimatedGIFs sketch!
- Animate scrolling text (and more!) using SmartMatrix’s FeatureDemo!
- ESP32 provides 2.4GHz Wifi/Bluetooth capability, and is Arduino compatible!
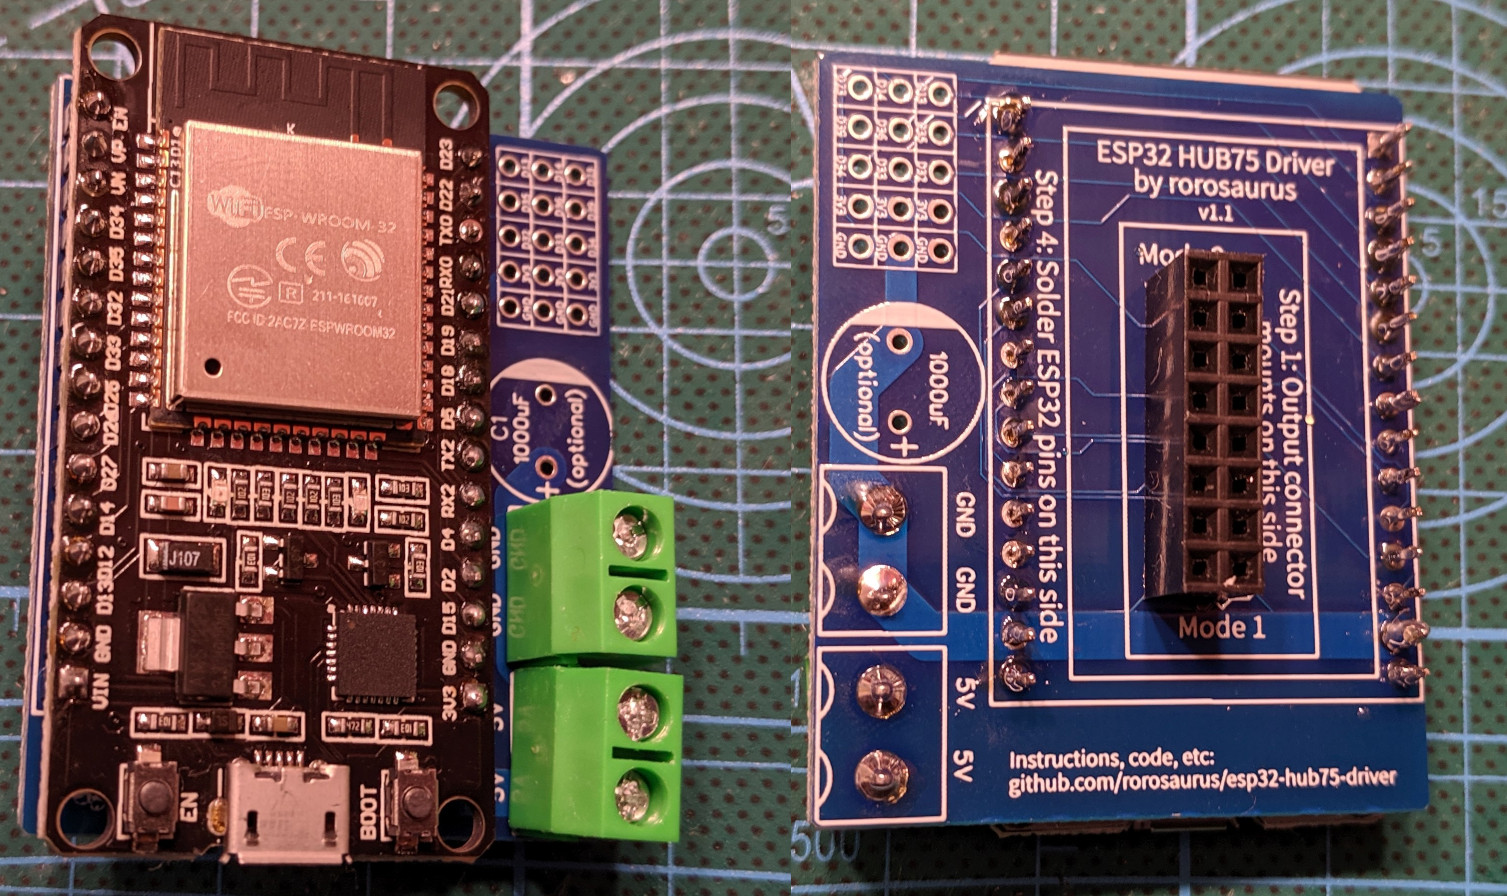
- The PCB connects all 16 pins needed to drive HUB75 panels using
ESP32_FORUM_PINOUTfrom SmartMatrix library.- Compatible with 1/8, 1/16, and 1/32 scan type HUB75 panels.
- Supports multiple HUB75 panels daisy-chained in series! (Verified working with 5 panels!)
- Two different ways to connect to your LED panel:
- Output Mode 0: directly plug this PCB into your LED panel using 2x8 female pin headers.
- Output Mode 1: connect this PCB to your LED panel via 16 pin IDC socket (ribbon cable not included).
- 3x5 = 15 pins broken out for additional use:
- 3x
GND - 3x
3.3V - 9x GPIO pins (8 with ADC!): for buttons, potentiometers, sensors, etc.!
- 3x
- Optional two screw terminals to manage
5Vpower flow between ESP32 and your LED panels. - Optional pads for one through-hole Electrolytic Capacitor (I use 1000uF) to smooth the
5Vpower. - Optional pads for one 1206 SMD Ceramic Capacitor (I use 10uF) to enable the automatic bootloader. No need to press buttons to upload new firmware!
Purchase
Buy as a DIY kit or pre-assembled on Tindie! 
Limitations
- There is no logic level shifter on my PCB, so this is only compatible with 3.3V tolerant LED panels. Personally, I haven’t found a panel that doesn’t work yet!
- There is no external latch IC, which means compared to other solutions my PCB will use a few more pins and require more memory. In practice, I haven’t found this to be particularly problematic unless working with large displays.
- The resolution of displays you can do is primarily limited by the amount of DMA-capable memory on the ESP32.
- I would recommend using 64x32px (2,048px total) or smaller displays if you want to avoid most issues.
- Using 64x64px (4,096px total) is possible, but you will start needing to optimize your .gifs with smaller color palletes and fewer frames of animation. With this amount of pixels (or more) stored in DMA-capable memory, you might also have issues getting Wifi to work, since that also requires some DMA-capable memory.
- 128x64px (8,192px total) is technically possible, but you’ll be limited to a small .gif color pallete and < 20 frames of animation, otherwise you will experience lag/stutter artifacts in the output visuals. To get Wifi working with this size of panel, I hacked SmartMatrix to remove the double buffer. This results in some screen tears, so I don’t recommend this for everyone.
Example Projects
- FurretTotem: HE WALK! This cute little guy just keeps on walking. Large (128x64px) LED panel, battery powered, Wifi controlled.
- Project Mc2 LED Purse: Cheap children’s toy you can harvest a good beginner panel from! I have several example sketches here for a variety of basic introductory projects!
- For more example projects and code, check out
SOFTWARE.md!
Assembly Instructions
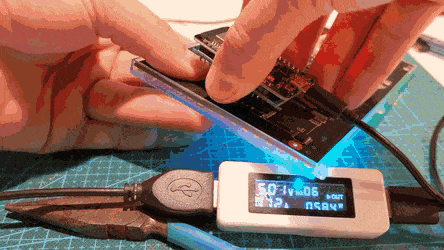
Some assembly required! (Soldering ~46 pins.) Full assembly instructions and more detailed information can be found here: ASSEMBLY.md
Hardware (BOM)
For a list of required and optional components, please see HARDWARE.md
Software
For links to software I recommend using with this board, please see SOFTWARE.md
Please note: my shield works with SmartMatrix library, not PxMatrix. Please check the SmartMatrix README to see what is not yet fully working in the branch that supports ESP32. This branch has so been inactive for some time, so I would not expect any future developments. However, I haven’t personally run into any blocking issues yet!
Powering your project
To find out the best way to power your ESP32 and LED panels, please head over to my power document: POWER.md!
PCB Design
Latest board revision is v1.1.
See CHANGELOG.md for information about board revisions and high resolution renders of the board.
Schematic download (EasyEDA source): /gerber/esp32-hub75-driver-schem.json
Gerber file download: /gerber/esp32-hub75-driver.zip
Thank you to PCBWay for sponsoring this project! Please see my review of their service here.
FAQ
I plugged everything in, and I don’t see anything on my LED panel!
- Is your code configured correctly? Right pinout? Right panel size, scantype, etc.?
- Is the PCB plugged into the panel correctly? It’s possible to accidently plug in 1 pin too high or too low on the panel input. Check it is properly inserted and each pin aligns properly.