Custom COVID-Test USB Stick (with LEDs)
Apr 14, 2022 — 3 minute read — # LEDs # Arduino # Programming # MakerThis year I’ve started to learn DJing! So after seeing this DiWHY on reddit, the gears started turning in my head! I think it would be fun to give you an idea of how I approach a small microproject like this!
Rory’s Internal Dialogue
What would a Rory version of this look like?
- Well, we know it has to have individually addressable LEDs… 😅
- …
- …
- ..yeah, that’s all I got. 😅
Okay, but how to power them? I suppose I could put a small battery in there, but it would be ideal if I can just siphon power from the USB-A port without affecting the flash memory. I’d just want to keep the power budget well under the 500mA we’d be guaranteed from a USB2.0 port. I’ll have to test everything before putting it together and ensure the flash memory has enough power for it’s hungriest operations still.
But what microcontroller to use? It’d be nice to use an ESP32, my favorite, and wirelessly change and sync animations. Unfortunately ESP32’s are 3.3V and using the radio would cause power fluctuations, unless I also add a capacitor… No, it’d be better to go with a simple, low-power microcontroller. Hey! These ATtiny85’s I have laying around are 5V tolerant! And the SOIJ package size is compact but easy enough to hand-solder! Perfect!
What LEDs to use? The COVID test isn’t very large, so I should use the smallest LEDs I have on hand so the end result has more pixels. I have some 2020 (2mm x 2mm) APA102’s I can use! They’ll have the best color depth and refresh rates too! I won’t have to worry about them getting too hot since I’ll be running them at a low brightness anyway to minimize the power budget!
Everything else I can figure out along the way!
The Build
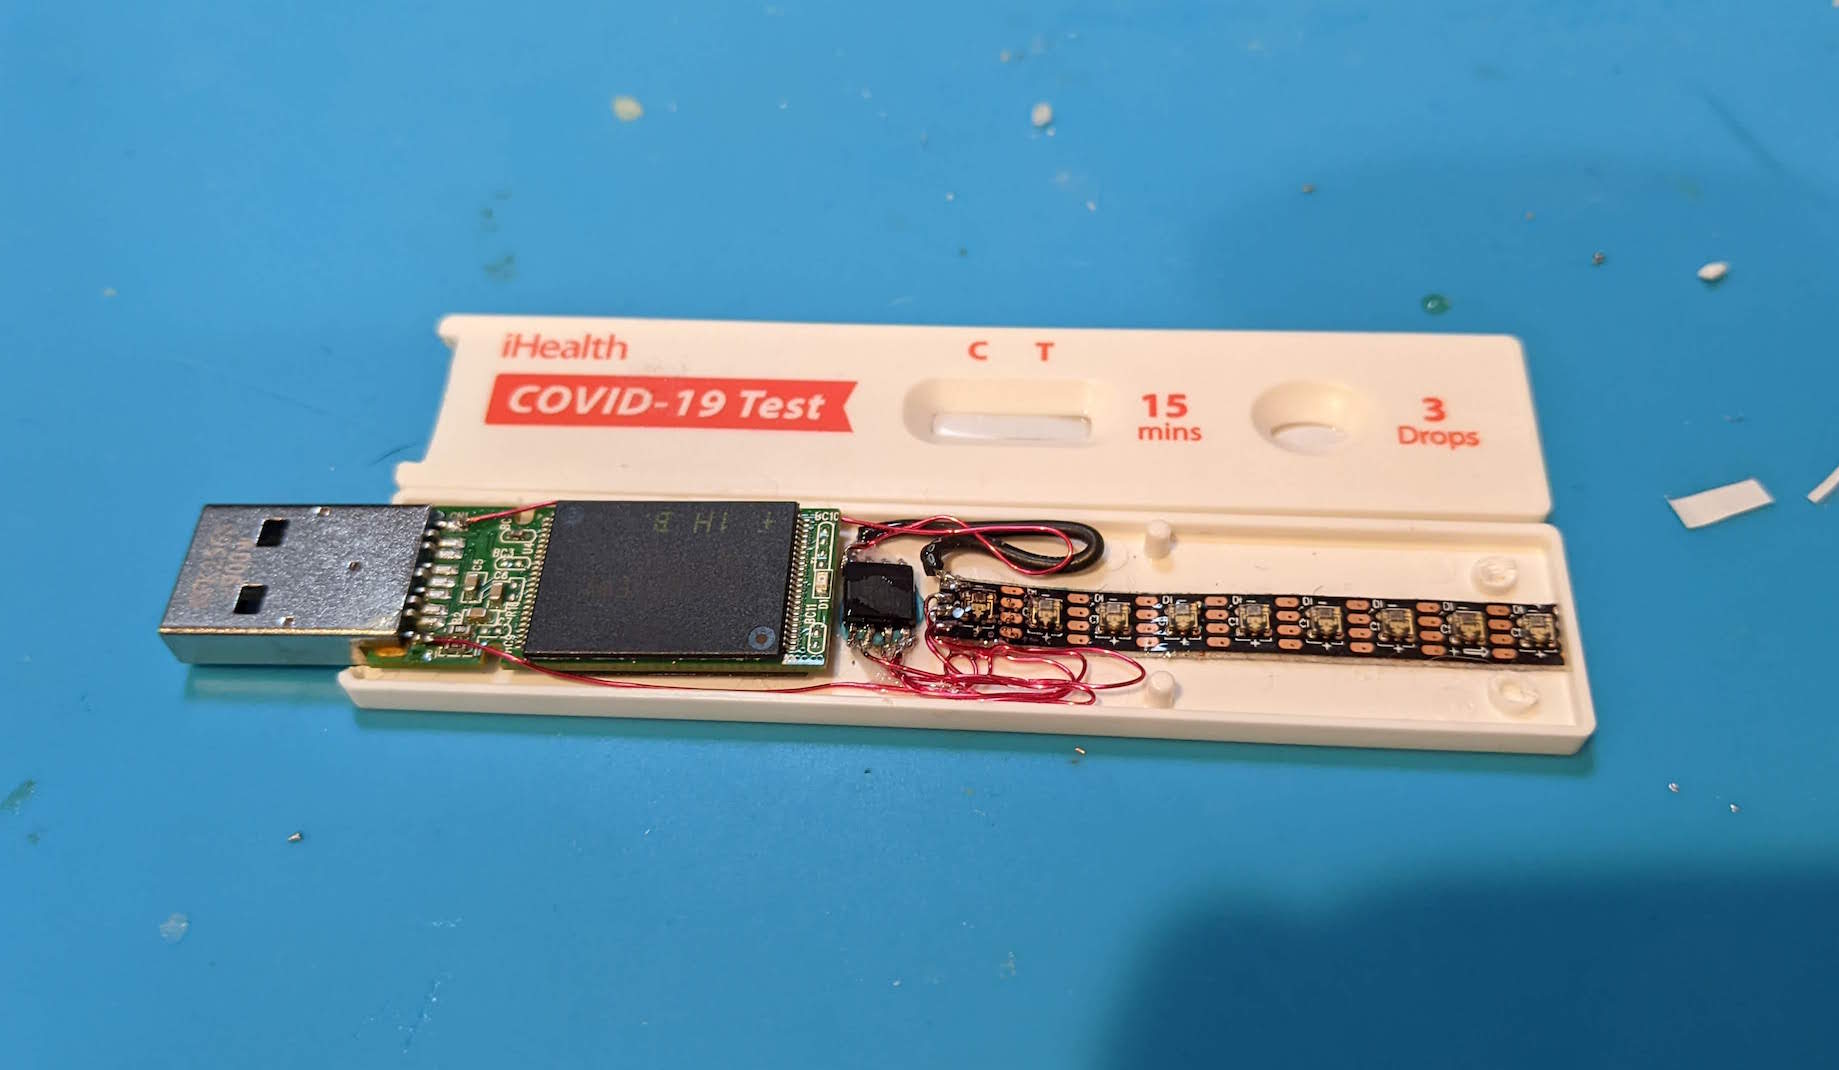
First, I removed my donor flash drive from its case, and took measurements with my calipers. Next I disassembled the COVID test and took measurements. It’ll fit, though just barely. I’ll need to snip some posts and grind down some space for the double-sided flash drive I chose to use. I used my dremel tool for the grinding.
After confirming the fit, it’s time to move on to the microcontroller and LEDs! I programmed the ATtiny85 using FastLED and confirmed it worked the the LEDs! I trimmed the LEDs to fit in the COVID test, measured the power consumption and adjusted the brightness until I was satisfied with the power draw. Then I soldered the ATtiny85’s power pins to the USB-A connector on the flash drive, to siphon power! Time to test! Does the flash drive still work?
Now that I’ve verified the electronics are sound, let’s lay it out inside the COVID test case. I fashioned a small diffusor for the LEDs with some material I had laying around. It looks like I made these wires a little long, but that’s ok! If it ain’t broke, just stuff the extra wire into a corner!
Now all we have to do is some final fitting adjustments until we’re satisfied with the fit of everything! After applying some Silicone Conformal Coating (my favorite insulator), it’s time to epoxy everything together! I used some clamps to hold the stick together while the epoxy set for a day… and we’re done!
The Result
I’m very satisfied with the end result! I always get a laugh when I use this USB for DJing, and I hope it’ll be reliable for years to come!